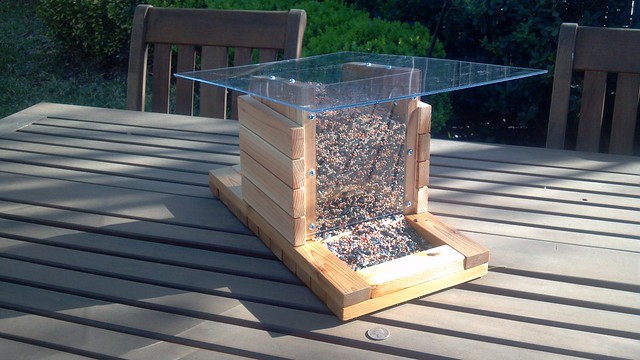
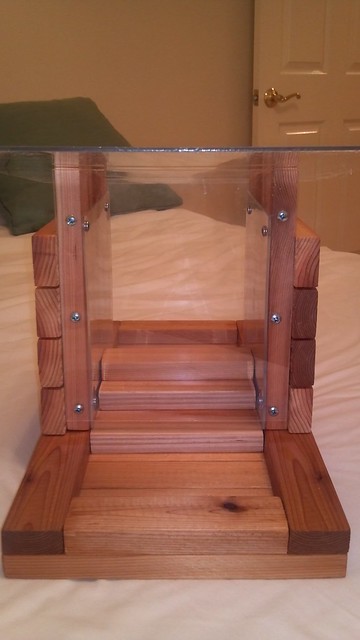
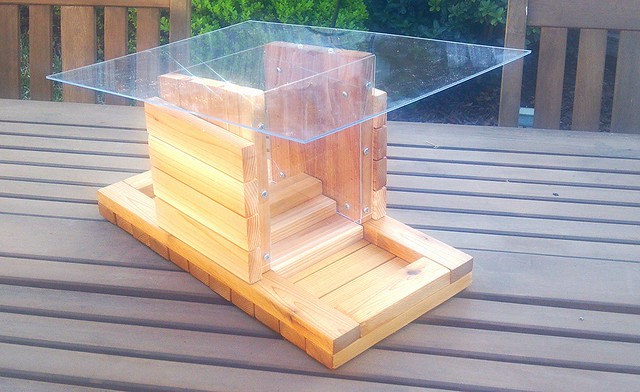
Finished
product with seed.
So, spurred on by the heady rush of
less-than-complete-failure from
previous
woodworking projects, I decided once again that I had too much
money/blood/self esteem, and set out on a new woody endeavor. Like
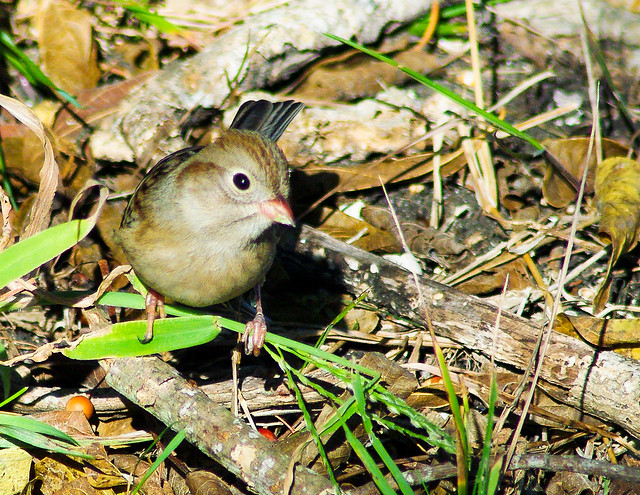
every time before, I started out with a simple idea. We have birds.
We have bird food. We do not have an effective means to transmit the
food to the birds.
Please
sir, may I have some more?
The simple solution would be to build
one of the time-honored old-timey bird feeders. The sort everyone
made in cub scouts or shop class. It was good enough for my pappy,
and damn it, it's good enough for me. Except for the part where it's
not.
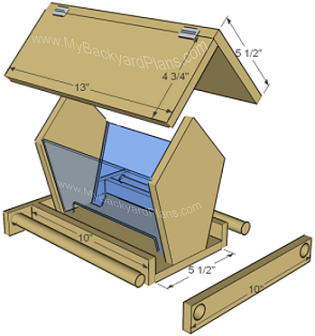
Every
boy scout from prehistory on made one of these. 99% of them
promptly fell apart the moment a bird landed on them.Photo courtesy of Mybackyardplans.com
Every time I start down the path of a
new wood project, you can almost pinpoint the moment where simple
gets chucked over for ludicrously complicated. It's the precise
moment when my brain sees something shiny and says “I can do
that!”. In this case, it was a plan from Lowes which, oddly enough,
involved buying a lot of expensive materials from Lowes. To be fair,
I was also lured in by their one minute,
“how
easy is this?” video. That video is a damn dirty lie.
Easy
to make! ...for Bob Villa.
So I threw over the tried and true but
slightly boring bird feeder for the shiny, acrylic, trendy, super
sexy....bird feeder. I may need to get out of the garage more. But
now was no time to exercise judgment or perspective, there were power
tools to cackle maniacally over.
The Build
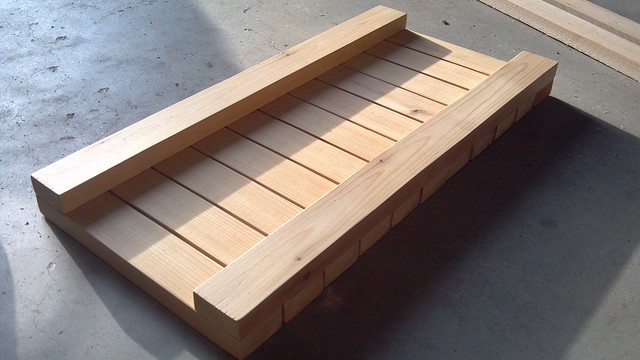
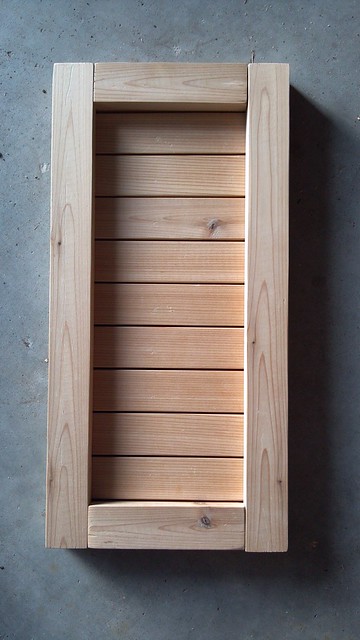
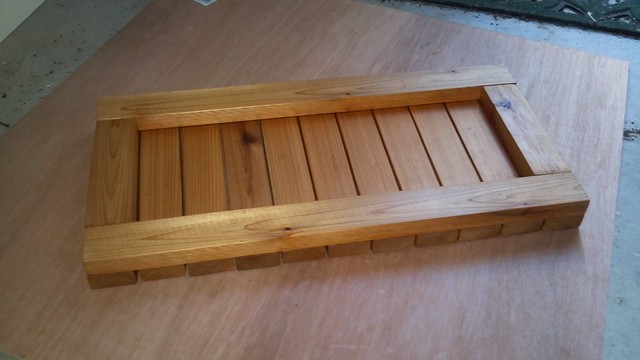
It started fairly easily. The base is
composed of cedar 1X2s. The only tricky bit here was getting them
exactly the same length on my less than stellar mitre saw, and
spacing them out at 1/16th inch. Building this little
lattice gave me a disproportionate feeling of accomplishment.
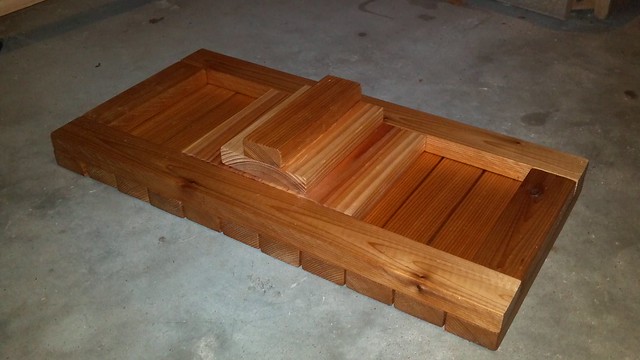
Basic
layout.
I'd never worked with cedar
before, which isn't saying much because all I've ever used is
pine/whitewood. I know a marvelous world of woods lies out there
waiting to be explored. However, it also comes with less than
marvelous prices. Cedar is actually pretty cheap. If you can live
with it not being finished on one side (left rough), then it's pretty
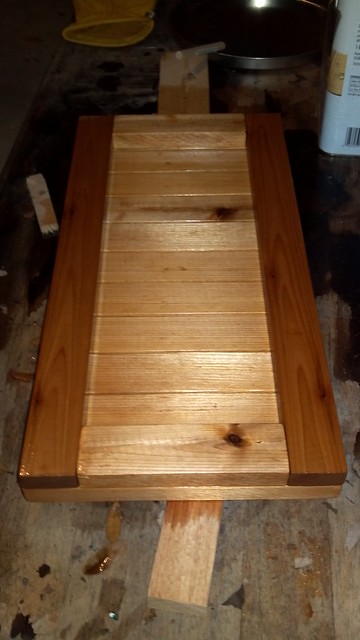
good stuff. Once I added the end pieces, I gave it a coat of
Thompson's Water Seal. Cedar is weather and rot resistant already,
but this brought out some darker color and gave it a little more
protection. Even this early in the process, I was fairly sure I did
not want to have to make this thing twice.
End
pieces added
Water
Seal brushed on
Finished
base
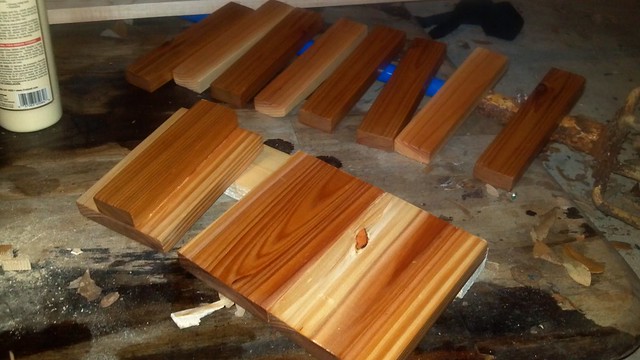
The next step was to build
the “spreader” which would sit under the bird seed and make sure
it distibuted to the openings in the feeder. This was the first of
many steps that gave me the sneaking suspicion Lowes engineered this
thing to use as much wood/as many parts as possible, since I'm pretty
sure gravity would have accomplished the same thing. But a plan's a
plan
i,
so I dutifully built and installed the spreader. I spent a lot of
time hand sanding and staining the wood. Any rational person would
have realized “hey, no one's actually going to see that wood...”.
I hope by now I have established that rationality has no place in my
woodworking process
ii.
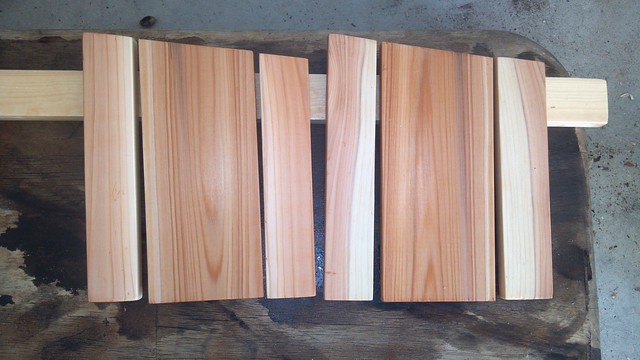
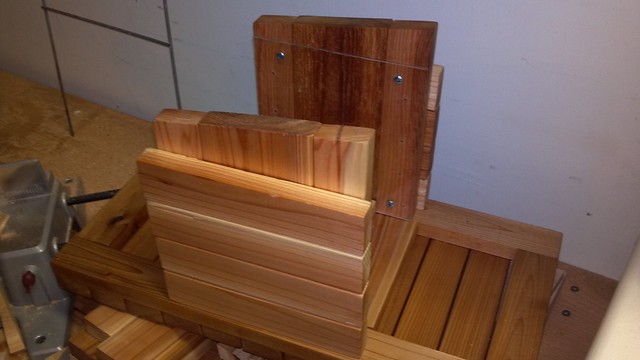
Spreader
and other pieces cut and finished
Spreader
assembled and installed.
With the base done, it was
time to start on the sides. Again, I spent a lot of time picking out
the best looking pieces of wood I could find to create the sides.
And, again, it occurred to me later that these beautifully sanded and
finished pieces will be permanently obscured by the siding. I was so
busy picking out the perfect pieces, I inadvertently cut both sides
on the same angle (they need to be mirror opposites.) I cursed and
went to cut new side pieces....and promptly cut them at the wrong
angle again. Eventually I got the sides done, and nailed on the
“siding”.
So
pretty....so wrong.
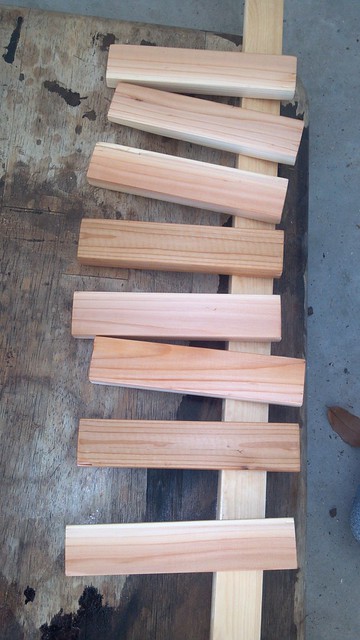
Side
trim cut and stained
Trim
installed right over that pretty wood.
With the wood work done, it
was time to install the acrylic. I had never worked with acrylic
before, but it seems like it's pretty much a staple of bird feeder
technology, so I figured, how hard could it be? A large pile of
shattered and discarded acrylic pieces in the corner of my project
desk attests to that answer. You can't just MAKE acrylic into what
you want, you have to coax it...convince it that it's in its best
interests to be what you want it to be. It's temperamental stuff.
Finally, though, after signing over my paycheck to Lowes and
fantastically shattering the heck out of several pieces, I got the
inserts cut and installed them on the sides.
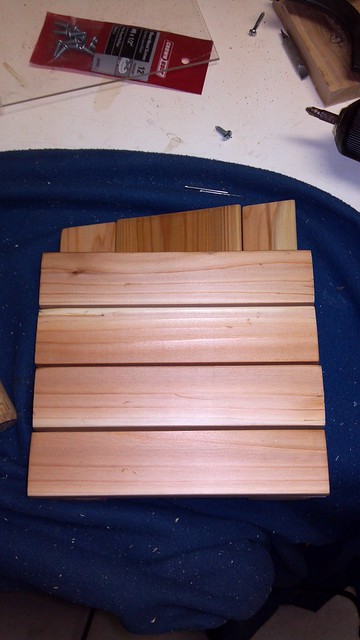
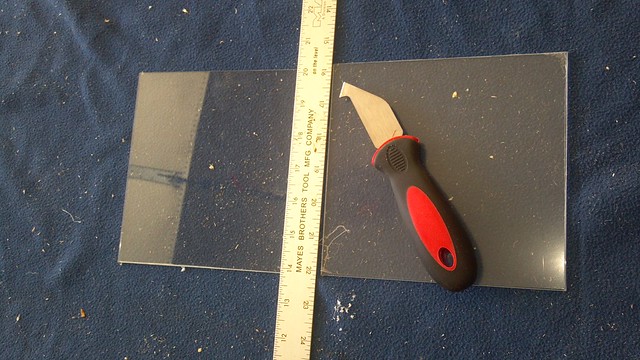
Cutting
side panes
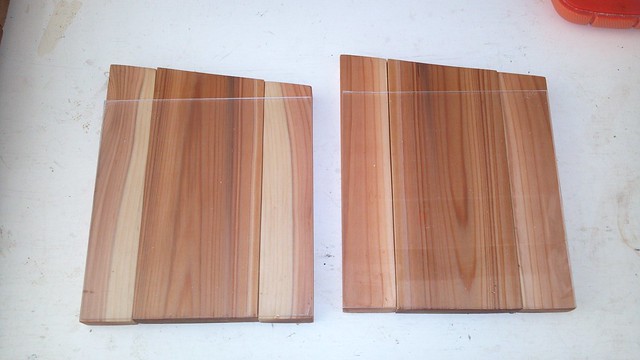
Matching
panes to sides
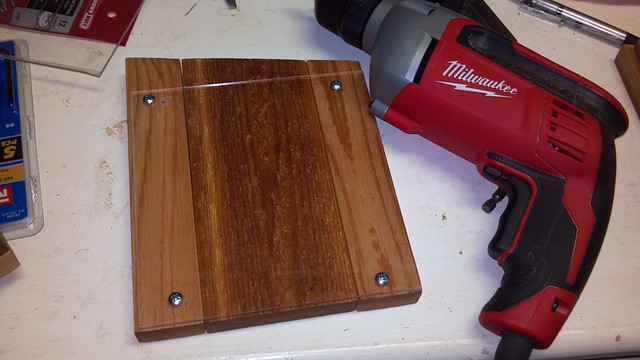
Installed
side pane
It may have just been lack
of oxygen from cedar dust coated lungs, or blood loss from acrylic
shards, but at this point I was feeling fairly satisfied with
progress. Now came the moment when all the pieces got put together.
This is usually the moment in my projects where that previous feeling
disappates rapidly and the frantic sanding and recutting to fit
begins. Also, desperate desperate tears and please for deific
intervention.
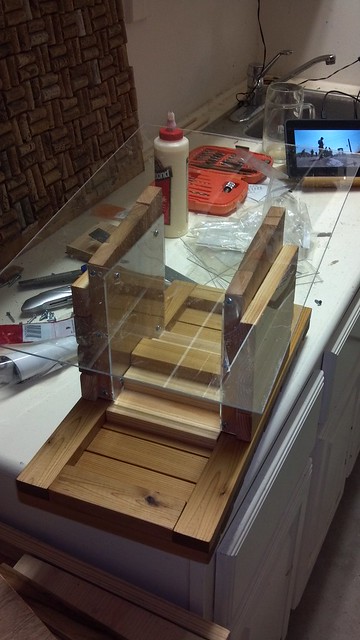
Side
units get attached to the base
Acrylic
panels get attached to the front and back as windows using fancy
screws and the acrylic top is fitted.
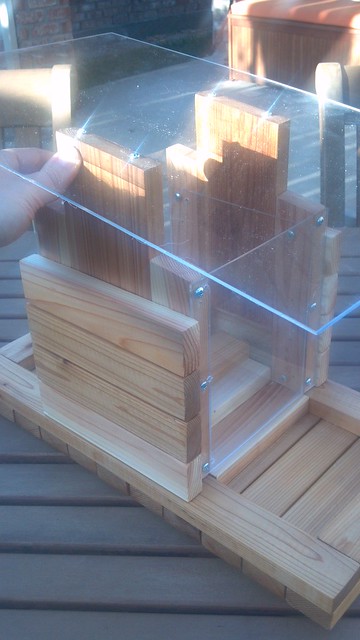
Top
gets screwed into the middle supports of the side.
While
the corner posts are screwed into the base, the middle supports on
each side are just held between the siding and the acrylic panel,
letting it slide up and down so you can remove the roof. Clever in
concept, horrendously hard to get the fit right in execution.
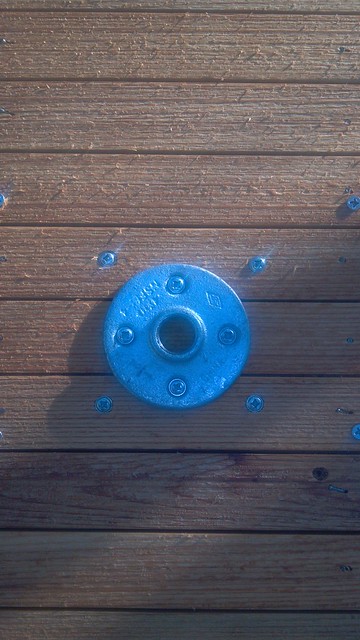
½
inch pipe flange added to bottom so this could be mounted on a pipe.
And make Lowes more money.
Finally everything was
squared away, and the final product was a (mostly) functioning bird
feeder. All that's left is to mount it on a galvanized pole in the
yard and fill it with seed. Then just sit back and watch birds
actively ignore it. I am both worried and morbidly intrigued that the
birds may crash fatally into the transparent top
iii.
I guess worse comes to worst, if it fails at feeding the small feeder
birds who crash into it, it can always be repurposed as a vulture
feeder...
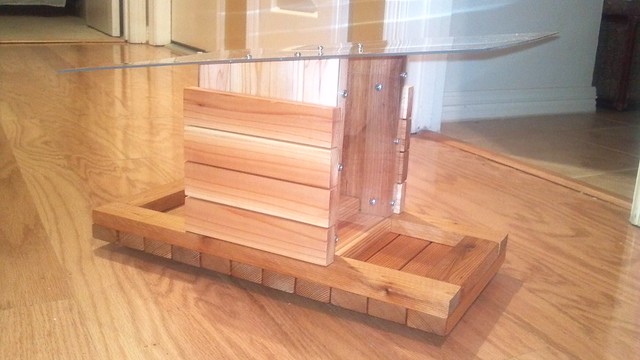
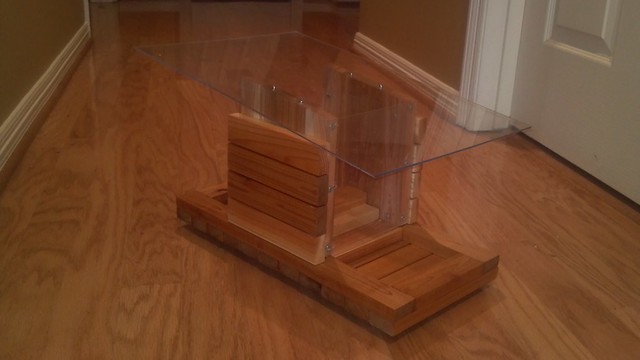
Front
elevation
Side
View
Rear
elevation
NOTES
iExcept
when it's a recipe, which if you've read this blog before, you know
is really taken as more of a suggestion.
iiiThe
actual plan from Lowes involved sandwiching two incredibly expensive
pieces of Lexan toegther and then spray painting it black. First of
all, Lexan? The stuff they make bulletproof windows out of? Do we
really need our bird feeder to be safe from stray sniper fire? And
two sheets of it? And then you buy spray paint to paint that
beautifully clear Lexan black? I'm pretty sure it would be cheaper
to hire a guy to just stand there and hand feed birds.


